

Try the #1 software for $1/month.
Norem ipsum dolor sit amet, consectetur adipiscing elit. Etiam eu turpis molestie, dictum est a, mattis tellus. Sed dignissim, metus nec accumsan.
HYROX

Over the past few years, HYROX has gone from a niche competition format to a global fitness movement. With that growth comes opportunity, especially for gym owners looking to create high-energy, community-driven events inside their own four walls.
Hosting a HYROX simulation event in your gym is an effective way to engage your members, attract new athletes, and build serious buzz in your local market. Plus, if you are a registered HYROX Training Club, hosting a simulation is a great way to make the most of your affiliation fee.
At CrossFit Tooting, we have hosted two sold-out HYROX simulations, and we have learned a lot along the way. If you’re wondering how to actually pull it off, this guide breaks down exactly how to plan and deliver a successful HYROX simulation from start to finish.
Before we get into logistics, it’s worth understanding why these events are so powerful for your business.
First, they create a clear goal for your members. Training becomes more focused when there’s a race on the calendar. If you are able to align your HYROX or CrossFit programming to peak at your event, even better! Members will be bought in, and they’ll make a point to attend classes consistently, which improves retention.
Second, they generate new revenue. Selling tickets, increasing your membership retention, and attracting new members can all be byproducts of a well-run HYROX simulation.
Finally, events help to build community. There’s something different about race day energy. It brings people together, creates shared experiences, and gives your members a ‘why’ behind their day-to-day training.
At its core, a HYROX simulation is a chance for participants to replicate a real HYROX race.
Some competitors will want to do a simulation as a rehearsal for the real thing. Others will not want to pay the high ticket prices of a HYROX (or won’t be able to get their hands on one). Finally, there may not be a HYROX race scheduled near your gym. This gives you a golden opportunity to provide the next best thing!
A major appeal to ‘hybrid rockstars’ everywhere is the consistency of the HYROX race format. In your simulation, small modifications may be necessary based on your venue or equipment limitations, but a good rule of thumb is to mirror the HYROX race format as closely as possible.
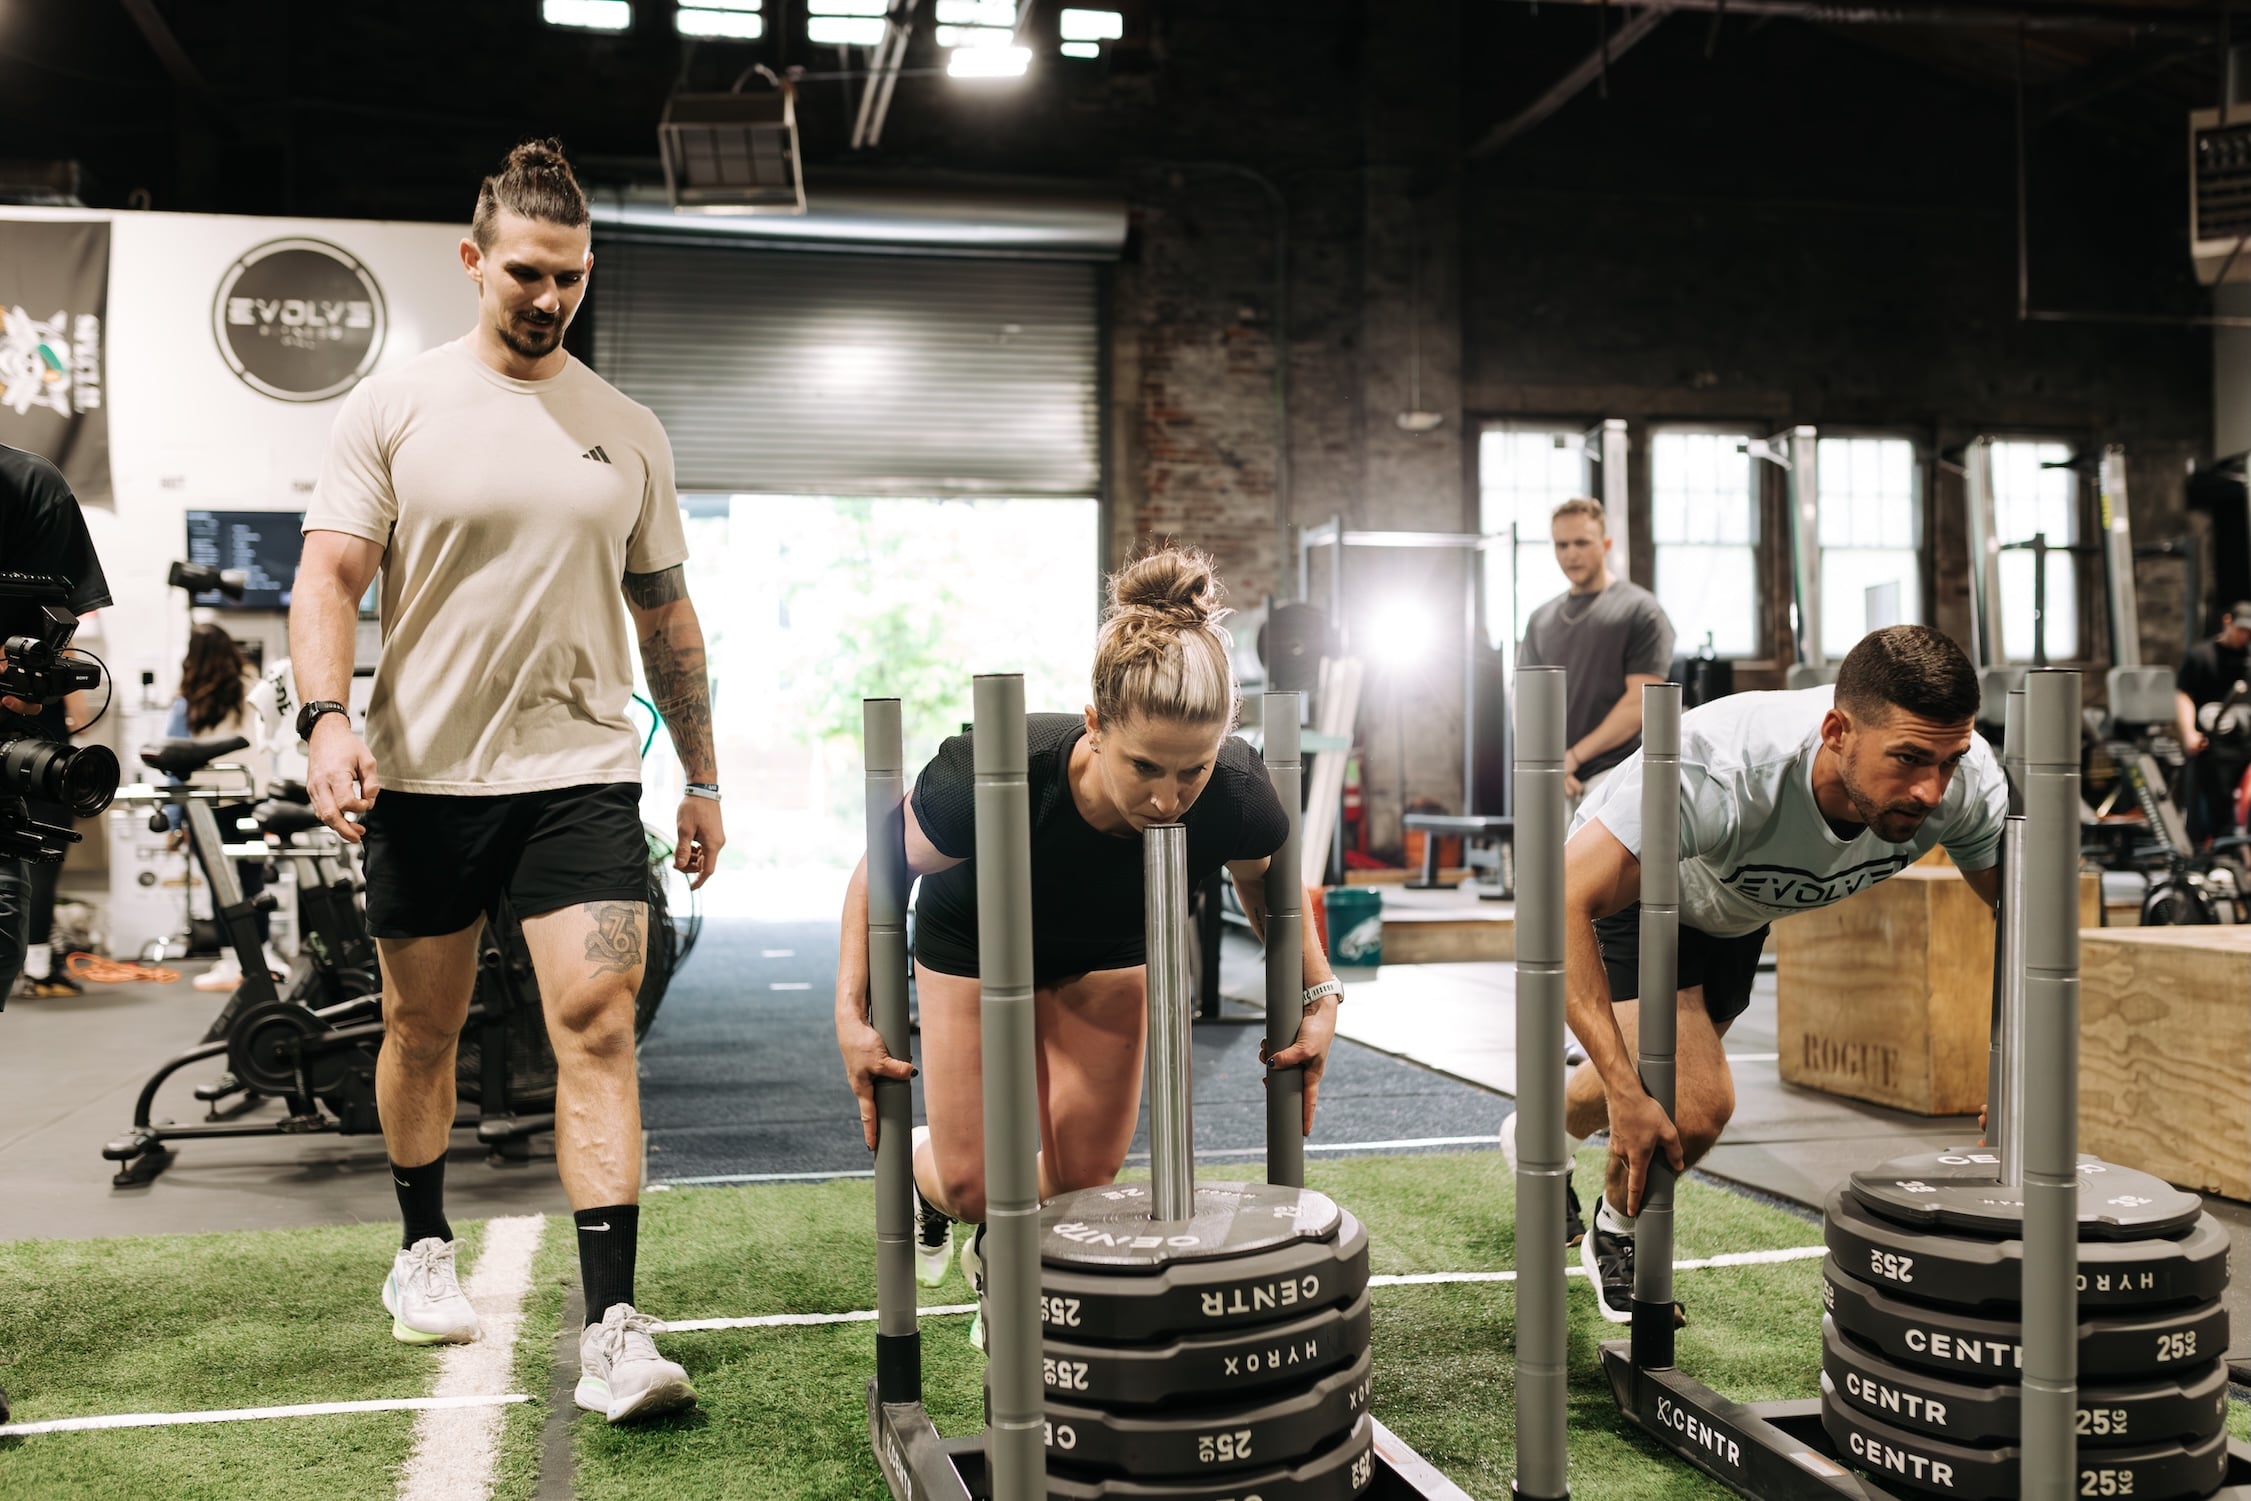
At CrossFit Tooting, we have only 3 sleds available. A HYROX race includes both sled push and sled pull stations, meaning that this very limited piece of equipment was in high demand. To mitigate this challenge, we modified our simulation format as follows:
We picked a sled weight between the standard sled push and pull weights, and left the sleds loaded at that weight. We also modified the sled stations to be first, and had a ‘Push/Pull’ and ‘Pull/Push’ station. By making these changes, we didn’t need to have volunteers ready to change plates, or hook and unhook ropes on our sleds throughout the event. This was the main deviation we made from the standard HYROX race format, but it worked incredibly well.
Ticketing your event is crucial to confirming a fixed race schedule for competition day. In a HYROX Simulation, adding another lane to a heat is not so easy at the last minute. While you may choose not to charge for your tickets, keep in mind that you are providing a unique event experience that goes beyond your standard gym offering – don’t be afraid to charge a fair price for your tickets to recoup some of your operating costs.
Participants will have a reasonable expectation that they will have access to the right equipment, the right format, and receive a relatively comparable result to an actual HYROX – especially if they are paying for a ticket. Lean into the details of making this event as smooth and professional as possible so that participants leave feeling like they had a positive event experience.
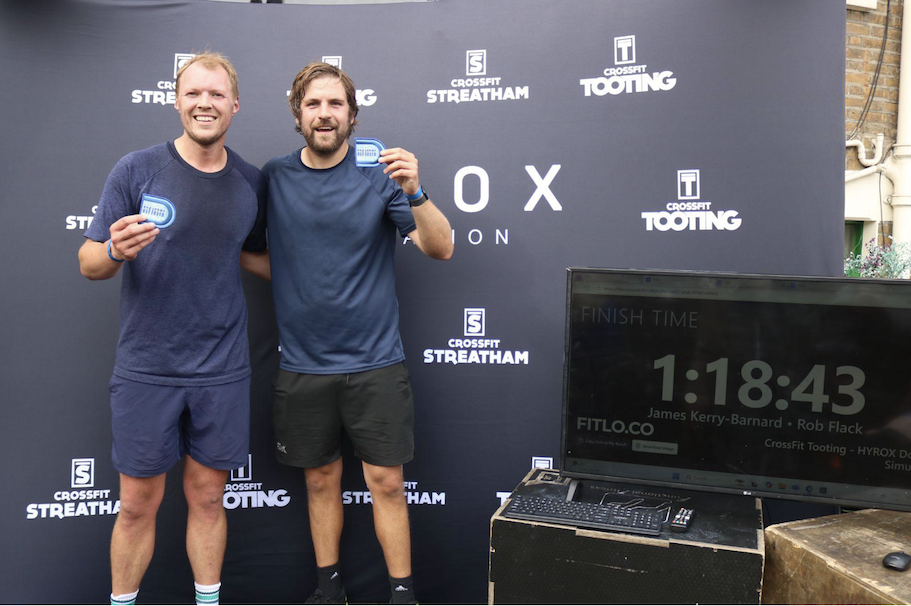
At CrossFit Tooting, we ordered custom velcro bag patches that were exclusive to participants in our HYROX simulation. We also ordered a custom reusable backdrop for finish line photos, and some volunteer T-shirts(that they actually wanted to wear!) These made the event feel premium, and worth the ticket price.
The key is not perfection. It’s delivering a structured, fair, and high-energy experience that feels like an event, not just another workout.
The success of your event is determined long before the first athlete arrives.
Start by locking in your key event details. This includes your race categories, such as solos, doubles, and gender divisions. From there, you need to determine your capacity. Determine how many entries you can include within each heat, how frequently you want heats to run, and the start and end time of your event. These factors define how many tickets you can sell, so they need to be finalized before you open registration.
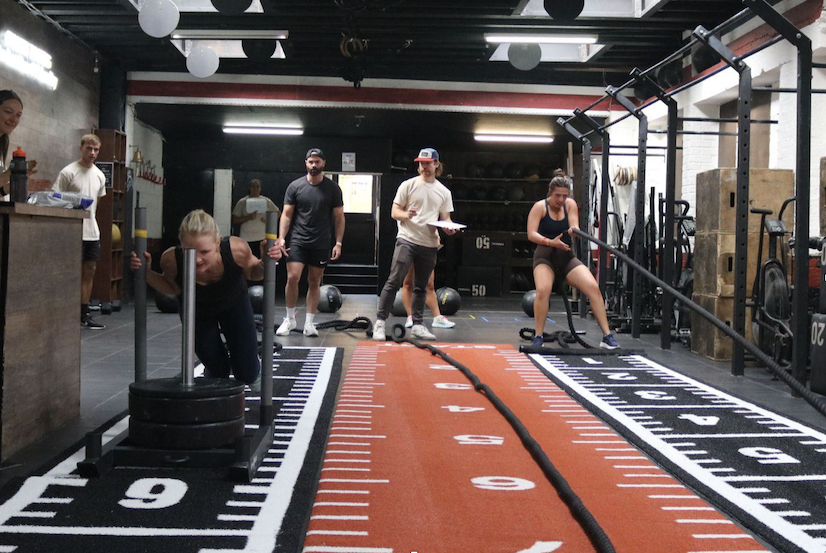
At CrossFit Tooting, we ran an all-solos and an all-doubles simulation. We were able to accommodate 3 lanes per heat every 20 minutes. Other than our limitation on sleds, we had 6 pieces of equipment ready for every other station (i.e. 6 rowers, 6 sandbags, etc.) to ensure that there would not be a backlog on any station.
Next, map your event layout. The flow of a HYROX is crucial from a safety and judging standpoint, as well as for creating a smooth spectator experience. Decide what doors in your facility are ‘incoming’ and ‘outgoing’ doors to avoid any runner crashes, and delineate clear areas for each station. Don’t sleep on the little details, like where participants can store their bags, warm up, or where to put your finish line!
Once your structure is clear, lock in your event date and start building awareness. Announce it during classes, on Wodify, and across your social channels.
This is also the time to set up your ticketing and timing systems. And always plan a simple backup timing system, such as a stopwatch or visible clock.
Once your structure is set, it’s time to go live.
Announce when ticket sales will open a few days in advance, so that your community can be ready to book. This is also useful if you are hosting a simulation for doubles, as it can take some time for participants to figure out who to compete with.
Consider giving previous event volunteers or gym members early access before general release. This is a great way to thank past volunteers, or to create value for your existing members (if you plan to open ticket sales publicly). As spots fill up, share updates consistently across your channels to drive sales.
At the same time, begin recruiting volunteers and staff to help with the event. This is one of the most important parts of your event.
Without being too blunt: A HYROX simulation cannot run well without volunteers.
Unless your gym has a large team of dedicated coaches who are willing to support the operations of a HYROX simulation, volunteers are crucial to the delivery of a successful event. As a baseline, aim to recruit 10-12 volunteers.
Participants expect that their result will be fair and accurate, and volunteers will help to ensure that they are. Without judges, you’ll be surprised how quickly 100 wallballs can turn into 92!
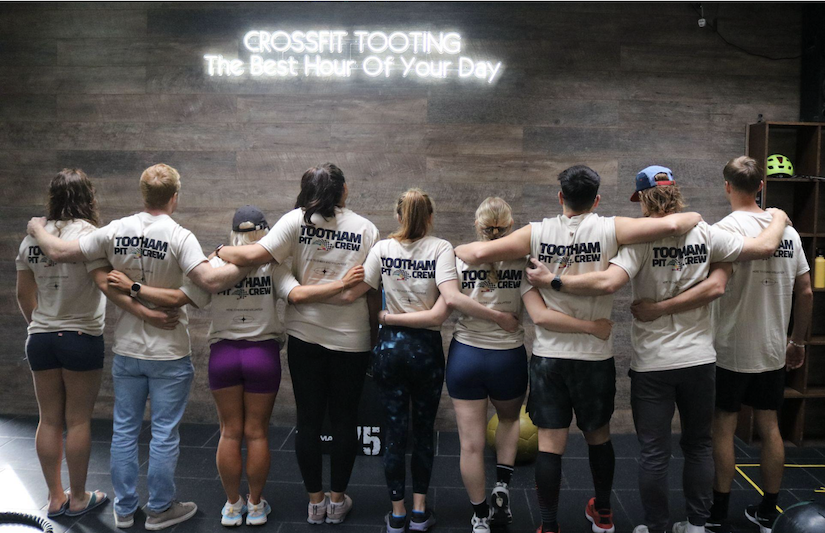
At CrossFit Tooting, we recruited the following volunteers:
From the athlete’s perspective, the most important things are fairness, clarity, and atmosphere. They want to feel like they are part of a real competition. Happy volunteers can make or break your event, so treat them well. Give them free coffee, provide a good lunch, and buy them a cool T-shirt. You’ll be happy that you did!
With tickets selling and your team forming, shift your focus to execution.
Start communicating with your competitors. Send an email outlining the event format, rules, and what they can expect on the day. Be sure to clearly highlight any race format modifications or regulations/movement standards that they will need to follow. Clear communication reduces confusion and improves the overall experience.
Behind the scenes, coordinate logistics like cleaning schedules and volunteer catering. Small details make a big difference on event day, and you’ll be grateful that you scheduled your cleaner to come in after an event!
Order any race day supplies you might need. This will vary from gym to gym, so a great tactic is to visualize the competitor’s experience from the moment they step in the door. Grab a notepad, and do a walkthrough of competitors arriving, checking in, dropping their bags, warming up, starting and finishing their race, and wrapping up. Better yet, do a test simulation yourself!
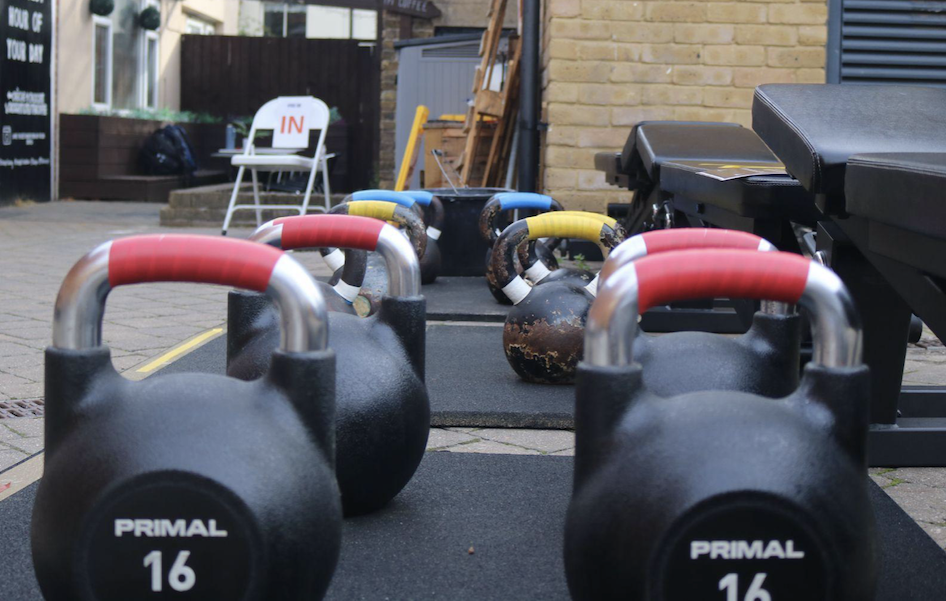
Upon our walkthrough at CrossFit Tooting, we realised that it would be very easy for a male competitor to grab a female weight (or vice-versa). With limited equipment available, we weren’t prepared to take that risk! This inspired us to color-code all of our race categories. We ordered red, blue, and yellow wristbands for our female, male, and mixed entries, and used matching colored electrical tape to designate which kettlebells, sleds, sandbags, and wallballs they should grab at each station. I can’t recommend doing this enough!
As the event approaches, everything becomes more specific.
Email competitors with their assigned heat times and check-in windows. Typically, asking them to arrive 30 minutes before their race works well. Include a PDF map of the gym layout and running route for them to refer to in advance.
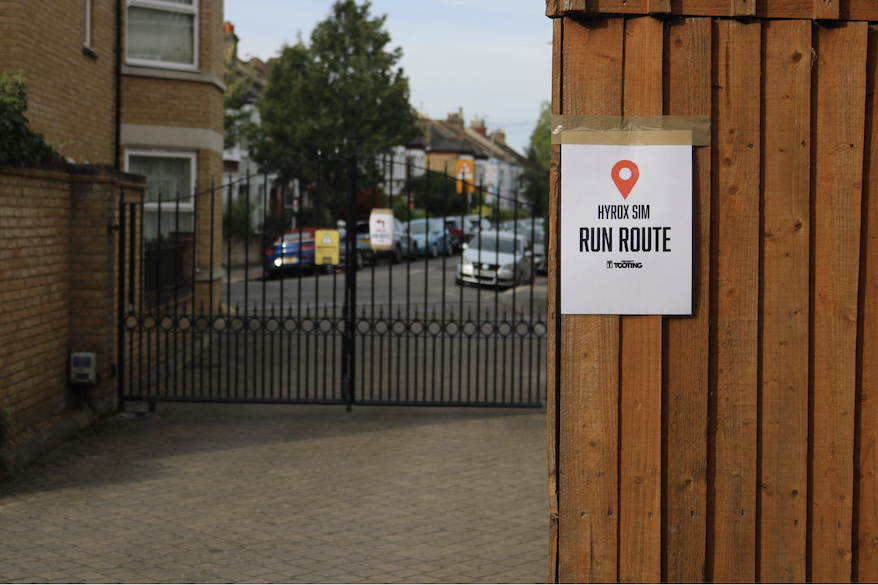
Prepare all printed materials. This includes signage for each station (pro-tip: include which station is ‘next’ as well!), signage for your running route, and a large simple venue map for participants to refer to.
At CrossFit Tooting, we printed out miniature maps to hand out to each participant. On one side, they showed the layout of the gym. On the reverse side, they showed the 1km running route. Several of our competitors carried their small maps with them throughout the race, so it was certainly a useful tool.
One week out, test your timing system thoroughly. Do not skip this step! Receiving an accurate finish time is one of the key reasons that a person would sign up for a simulation. Prepare manual backup sheets so your team can record results on paper if needed. Identify which volunteers will be responsible for timing, and make sure that they are included in the timing test.
The night before is all about transforming your gym into an event space.
Lay out all equipment in its correct position, and use coloured tape to match equipment to race categories so there is no confusion during heats. Clear away unnecessary equipment and create defined zones for each station (with – you guessed it – more tape!). Competitors should be able to move through the course without bottlenecks or uncertainty about where to go next.
Set up your finish line area, and make sure it’s clearly visible to your timing team. Set up your timing station and test it again. Prepare your check-in desk, bag drop, and warm-up area.
On the morning of the event, focus on final touches. Set up outdoor stations like farmer carries, mark your running route clearly, and prepare your water station.
Before the first heat, gather your volunteers for a full briefing. Walk them through the schedule, their roles, and how to handle common issues. Most importantly, explain to them why their role is so important (and thank them in advance!). This is where you set the tone for the entire day.
In an ideal world, you will have designated all key roles to other staff or volunteers, so that you are able to troubleshoot as needed.
Spend your time during the event checking in on volunteers to ensure they are well fed, caffeinated, and aren’t bursting for a bathroom break. Check in on your timing team often, and ensure the event is running on schedule. Make sure your phone is not on silent mode. Most importantly, be the source of calm in case of a crisis. If you have adequately prepared, the event day will be busier for your volunteers than it will be for you!
Once the final heat is done, the job isn’t over!
Reset your gym as quickly as possible. Remove signage, clean equipment, and return everything to its normal layout.
Thank your volunteers. A simple message goes a long way, and it increases the likelihood they will help again.
Share photos and results with participants as quickly as possible (so that they can share images on their personal channels!). Upload images to a shared folder for them to access, and post highlights on your social channels.
Hosting a HYROX simulation is not just about running an event. It’s about creating an experience that strengthens your community, showcases your gym, and opens up new opportunities for growth.
You don’t need a perfect setup to get started. You just need a clear plan, a committed team, and the willingness to execute.
Start small, learn from your first event, and build from there. Done right, a single simulation can turn into a cornerstone of your gym’s identity. You got this!
—
Gym owners: Want to capitalize on the HYROX hype and launch it the right way in your gym? Check out the Gym Owner’s HYROX Playbook to make sure prospective members find you, sign up, and stick around!
Norem ipsum dolor sit amet, consectetur adipiscing elit. Etiam eu turpis molestie, dictum est a, mattis tellus.
Already know which provider you want to select?
Click “Sign up Now” to lock in your choice and pick your start date. It’s quick and easy!
Looking for a bit more information or guidance? Click “Talk to Us” to arrange a call with us. We’ll help you find the perfect program tailored to your needs.
Norem ipsum dolor sit amet, consectetur adipiscing elit. Etiam eu turpis molestie, dictum est a, mattis tellus.
Norem ipsum dolor sit amet, consectetur adipiscing elit. Etiam eu turpis molestie, dictum est a, mattis tellus. Sed dignissim, metus nec accumsan.
Norem ipsum dolor sit amet, consectetur adipiscing elit. Etiam eu turpis molestie, dictum est a, mattis tellus. Sed dignissim, metus nec accumsan.
We’ll let you try Wodify for yourself and get a feel for what it can do for your business. A Wodify rep — a real person — will walk you through every feature.

"Wodify transformed how we run the gym. I now have more time to focus on growing my business and helping members thrive."Dana Bradley, Owner of Westside Fitness
Click “Talk to Us” to arrange a call so we can discuss the flexible access options that best fit your facility.
Click “Book a Demo” to learn more about how Wodify can help your business grow.
Your branded app is one conversation away. Click “Talk to Us” and our team will walk you through everything you need to get started.
Click “Book a Demo” to learn more about how Wodify can help your business grow.